- How to Export Your Data From Salesforce Classic
- Creating a Backup Job in GoodSync to Back Up Your Salesforce Data
This tutorial will focus on exporting all data from Salesforce Classic and backing that data up using GoodSync.
If you haven't already, download and install GoodSync.
How to Export Your Data From Salesforce Classic
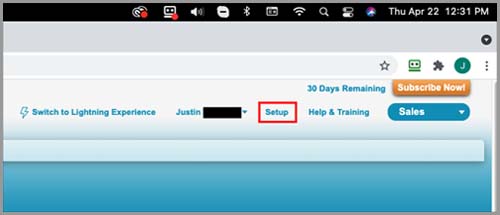
1) First, log in to your Salesforce account. Then, click “Setup” in the upper right-hand corner.
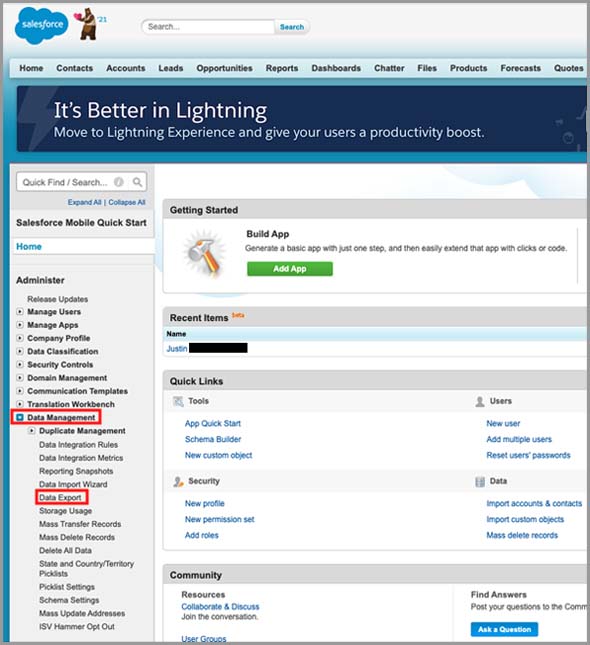
2) In the left-hand toolbar click the "Arrow" icon to the left of “Data management" to reveal a drop-down menu.
3) Within the drop-down that appears, click “Data export.”
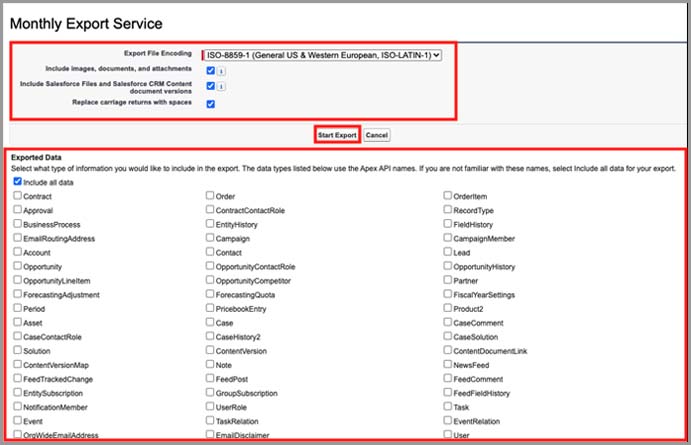
4) On the Data Export screen, click “Export Now.”

You will then be presented with different export options. Set these options to your specifications, and then click "Start Export."
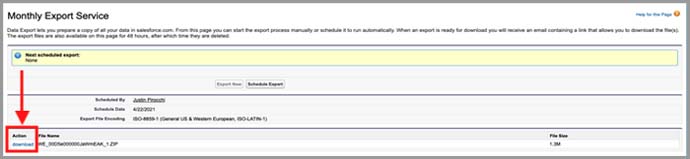
5) After the export is built and ready, it will appear as available for download. You will also receive an email notification letting you know that the export is complete. The export downloads from your web browser to your “Downloads” folder or your default download location set within the browser.
Creating a Backup Job in GoodSync to Back Up Your Salesforce Data
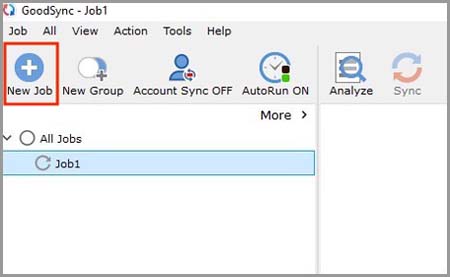
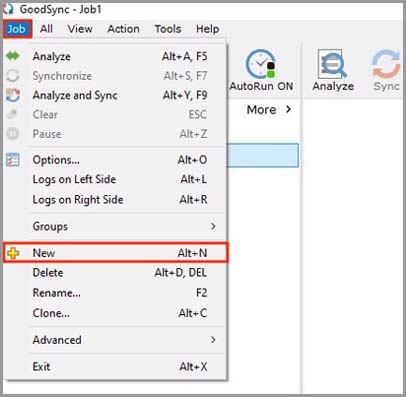
1) Open GoodSync and click the "New Job Button" in the toolbar or, in the Job menu, select "New."
2) In the "New GoodSync Job" prompt enter the name for your new Job. Then, select Backup as your "Job type." Once you are finished, click the “ok” button.

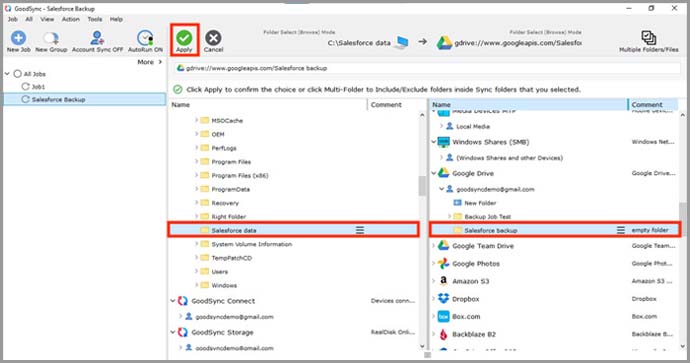
3) Next, select the endpoints for your job by clicking the Left or Right browse buttons at the top of the screen.

4) For the left side of the job within GoodSync, ensure that the exported data is in a folder as GoodSync can only select folders for sync and not individual files. Find the folder which contains your Salesforce data and select it.
On the right, you can select any endpoint you would like. For this example, we will use our Google Drive account. To view our tutorial on connecting your Google drive account to GoodSync, click here.
Once you have selected both left and right folders, click the "Apply" button in the upper left.
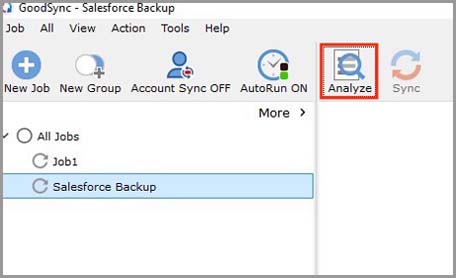
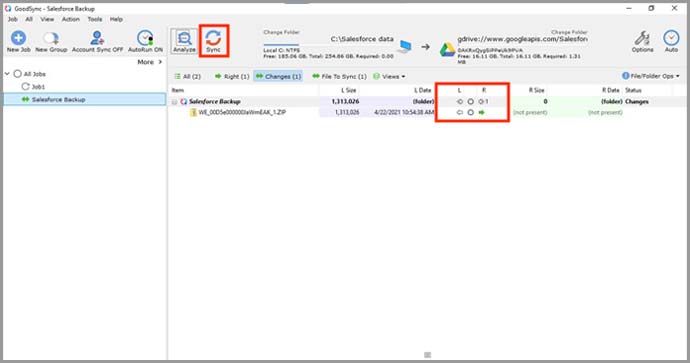
5) Click “Analyze” and confirm that the data will be moved appropriately.
6) Once you have confirmed that the data will be moved appropriately, click “Sync” to commit the sync.
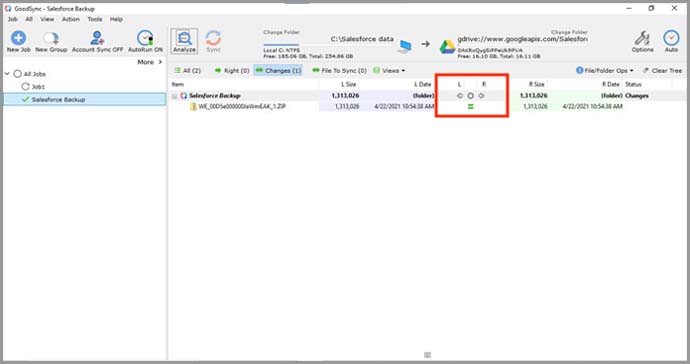
7) When you see the green equal sign between the L and R columns, the sync is complete.
NOTE: For information on other GoodSync Job options, click here.