Please note that GoodSync for WD is specifically designed to work with WD NAS devices. A WD NAS device is required to use GoodSync for WD.
The following tutorial will detail how to install GoodSync for WD on Mac.
1) Download and install the latest version of GoodSync for WD (Mac) from here.
Next, double-click on the downloaded installer to mount the installation volume.
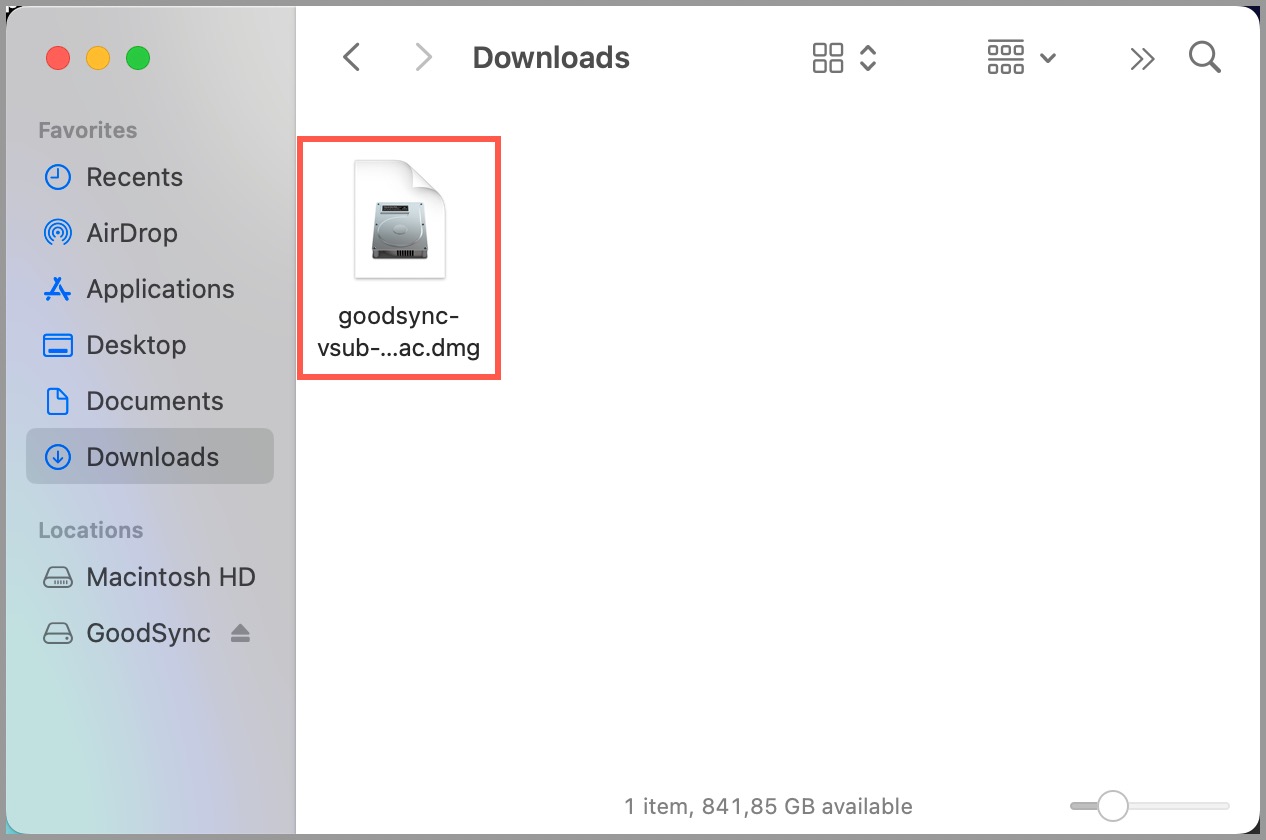
2) Double-click the GoodSync icon to begin the installation.

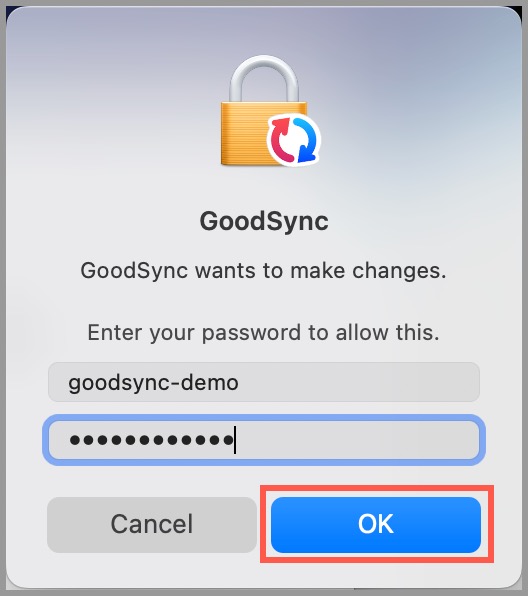
3) When prompted, enter the name and password of your Mac user account to allow GoodSync to make changes and click "OK."
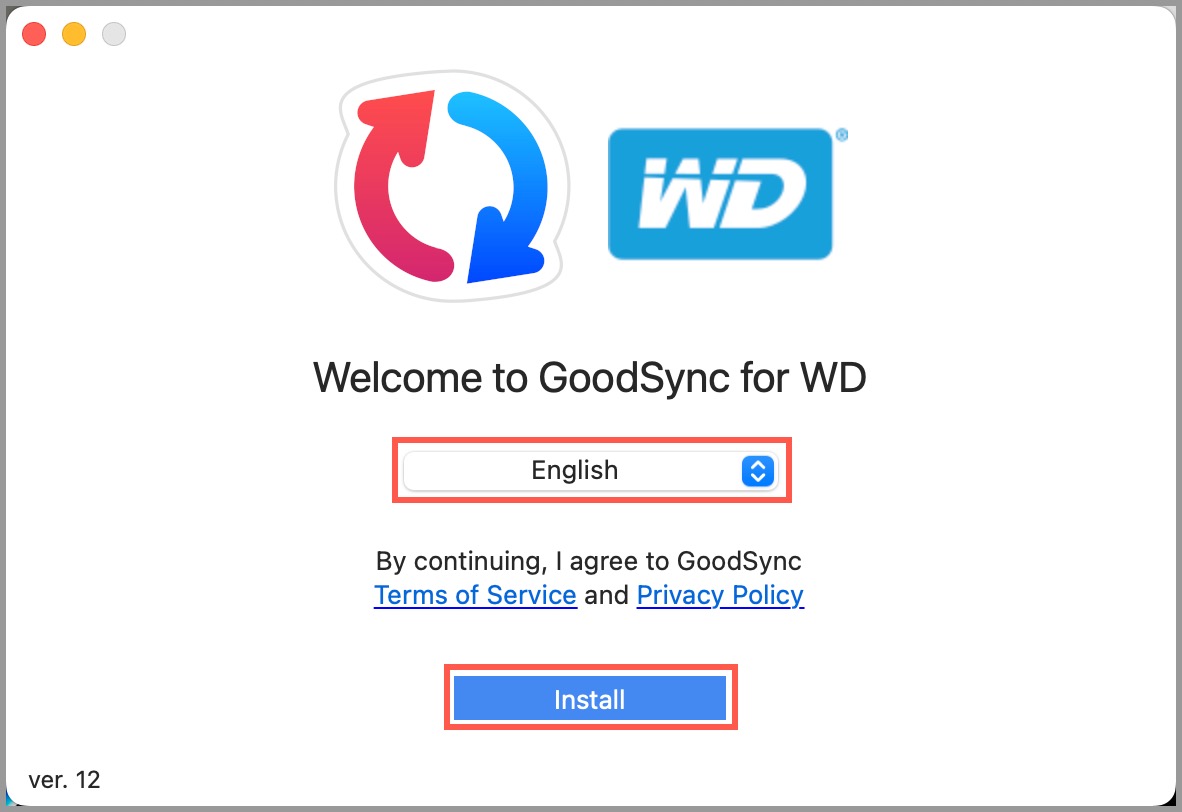
4) On the "Welcome to GoodSync for WD" screen, select your language, and click "Install."
NOTE: By clicking Install, you are agreeing to GoodSync Terms of Use and Privacy Policy.
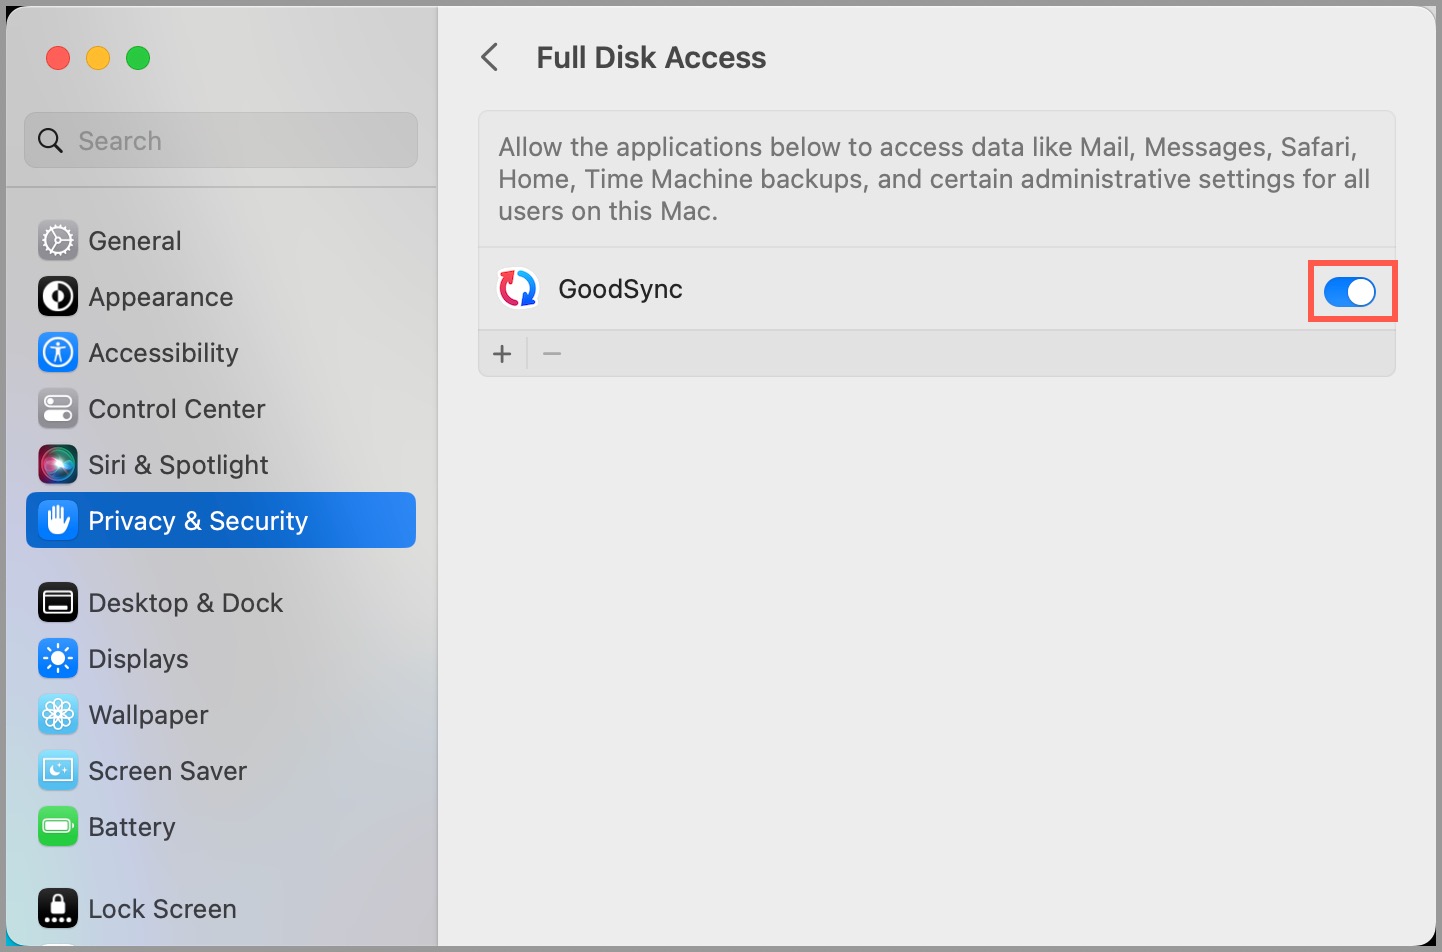
5) GoodSync will present you with a screen notifying you that it requires Full Disk Access. Click the "Open Security Privacy Preferences" button.

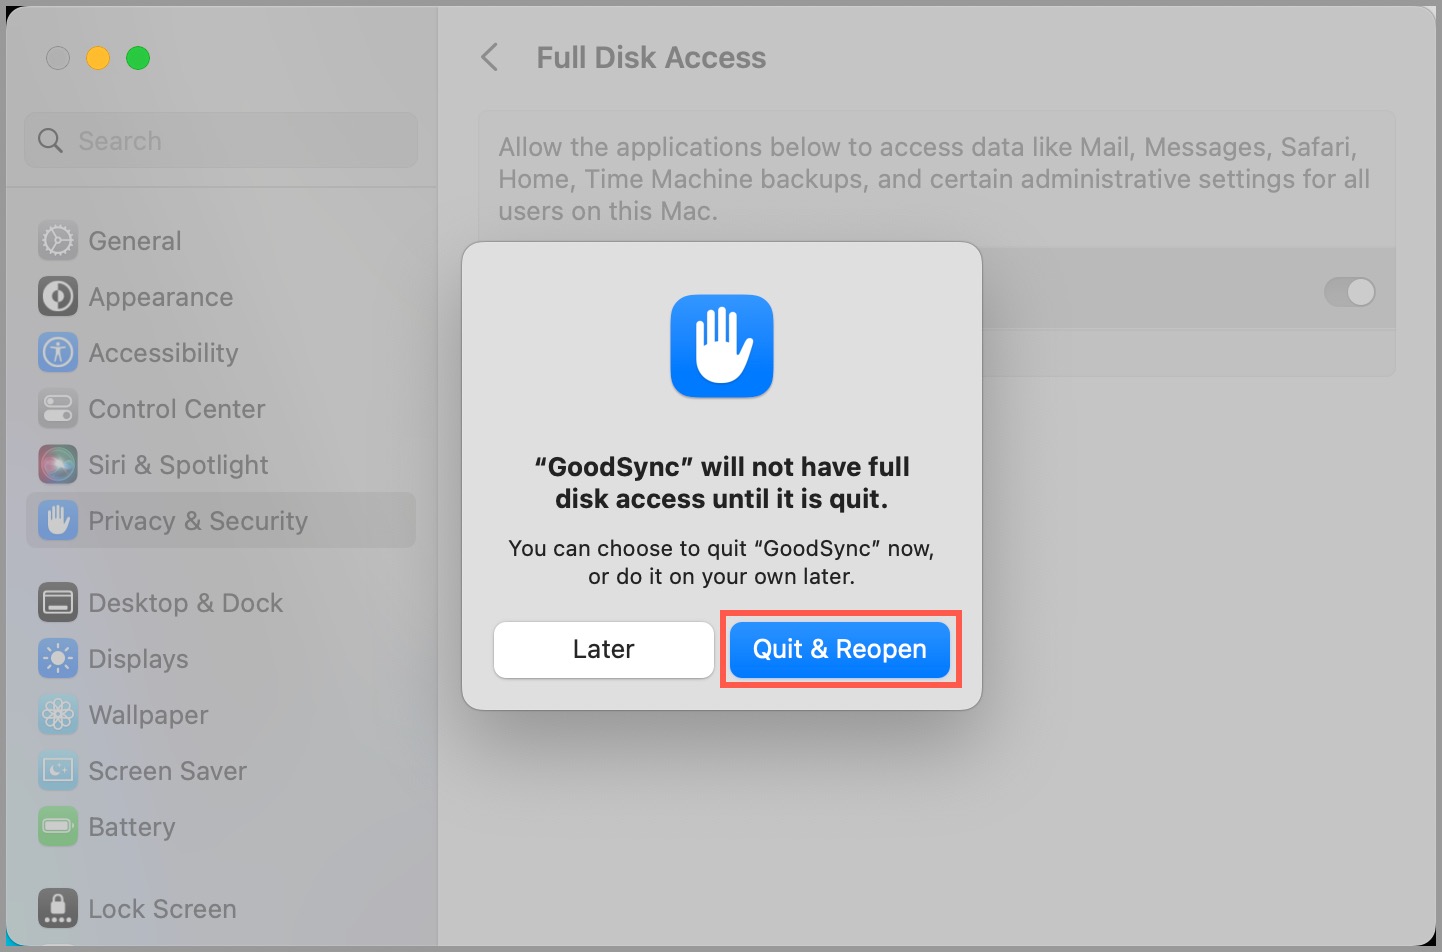
6) In the System Preferences, turn on the switch on the right of GoodSync.
7) A window will appear notifying you that GoodSync will not have Full Disk Access until it is quit. Click the blue "Quit and Reopen" button.
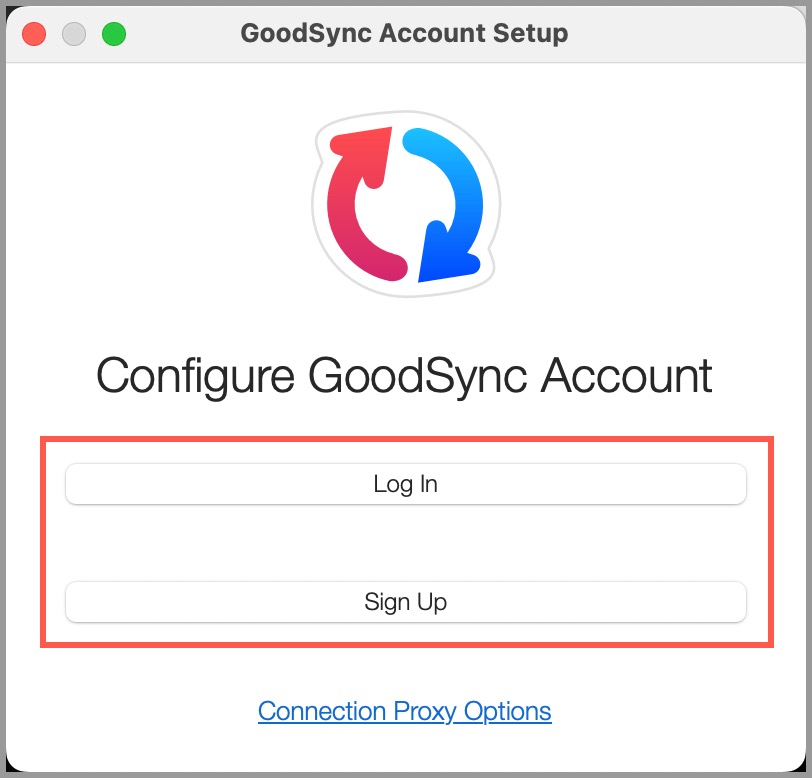
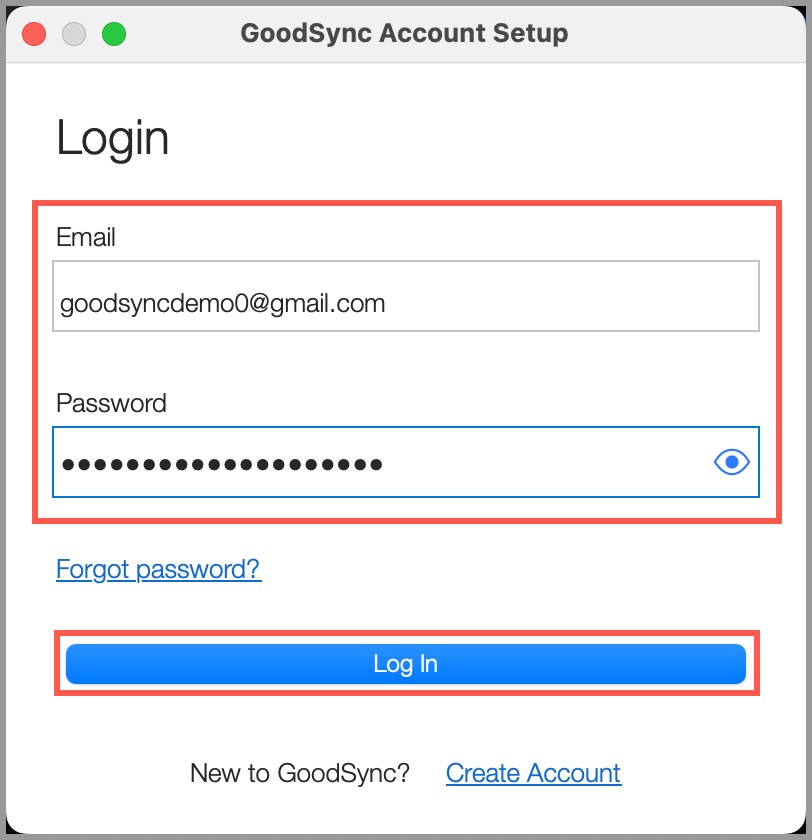
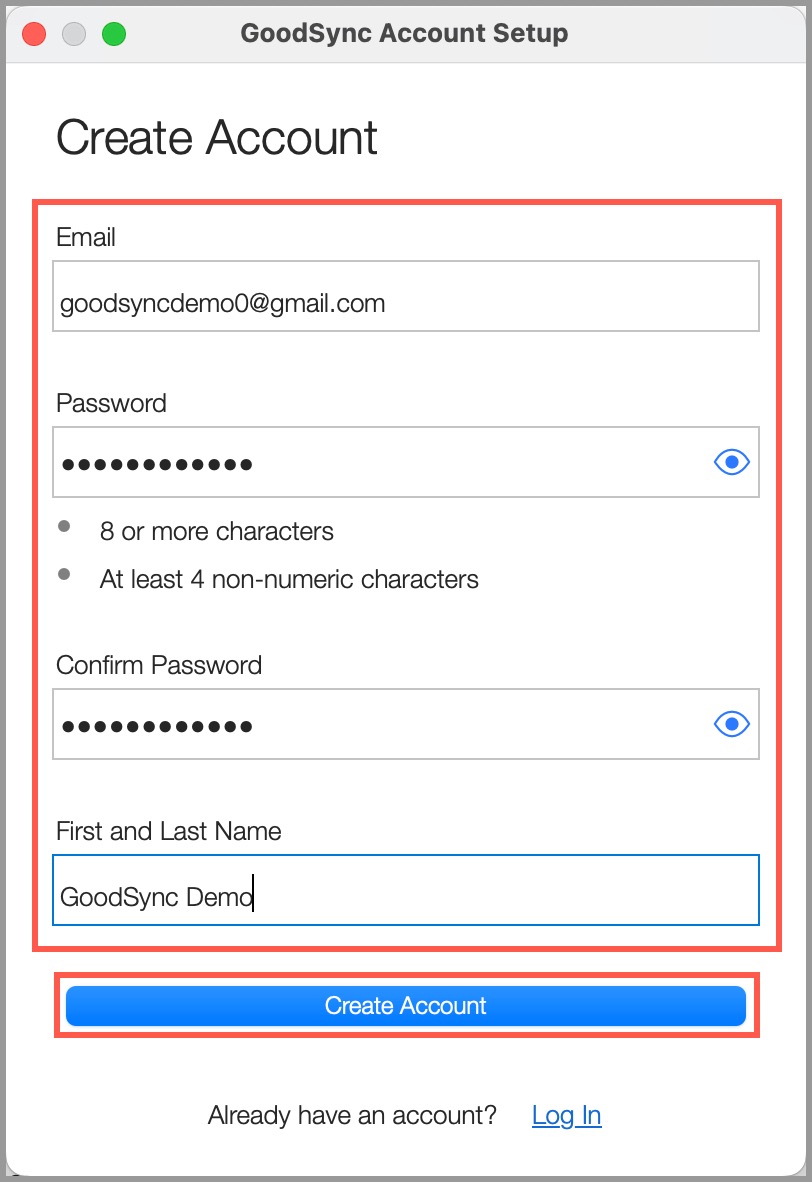
8) A GoodSync account is required to use GoodSync for WD. If you have an existing GoodSync account, you may choose the "Log In" option. If you do not have a GoodSync account, you may create a new account for free by selecting the "Sign Up" option.
NOTE: You may also manage your GoodSync account(s) in the GoodSync Account online.
9) Enter the appropriate information, then click the corresponding button to proceed.
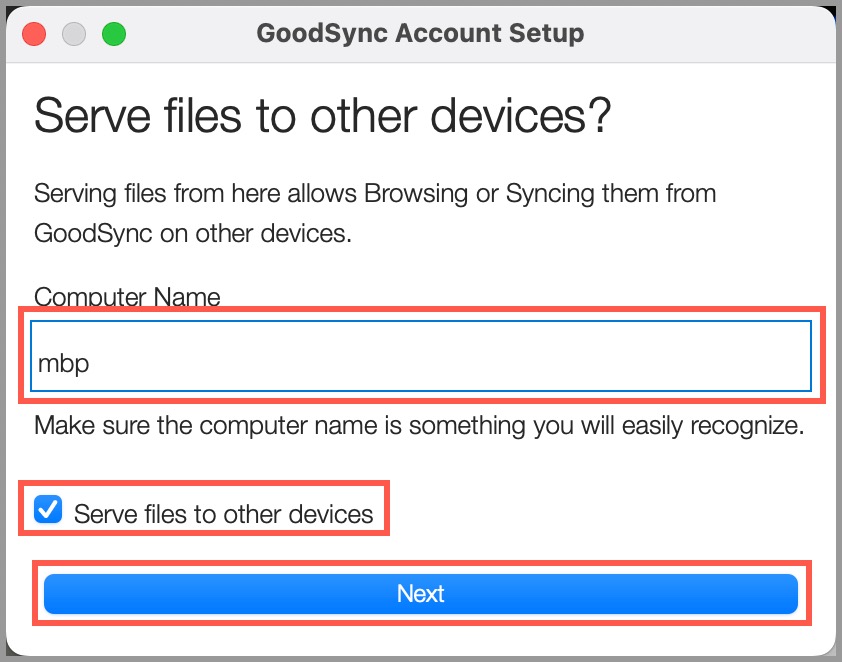
10) Next, you will be prompted to specify the computer name and choose if GoodSync is to serve files to other devices. Based on this, GoodSync will act either as a server or a client.
"Serve files to other devices" unchecked (Client): GoodSync installed on this computer can make outgoing requests only and cannot accept incoming requests.
"Serve files to other devices" checked (Server): GoodSync installed on this computer can accept incoming requests. You will be able to access data located on the computer from GoodSync installed on your mobile or another device.
Select your preferred setting. Then, click the "Next" button.
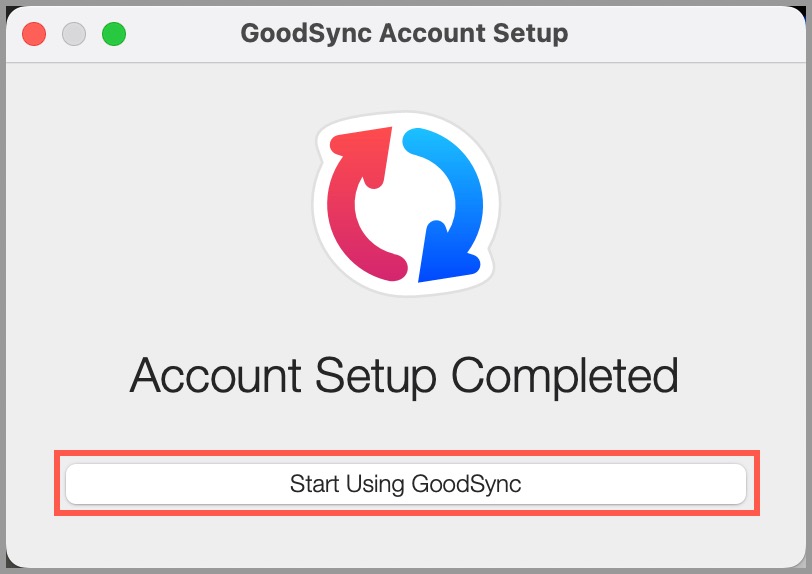
11) Installation is now complete. Click the "Start Using GoodSync" button.
For a tutorial on how to create a job in GoodSync for WD, click here.
Interested in a comparison between free and paid versions? Click here.