The following use case details the steps for creating a simple synchronization job between a server and another machine.
1) First, you'll need to configure your devices to serve files:
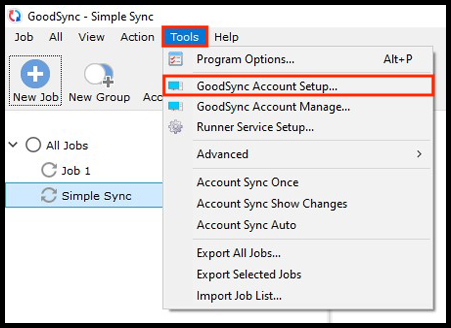
Windows - Click the "Tools" menu at the top of the screen and then click "GoodSync Account Setup."
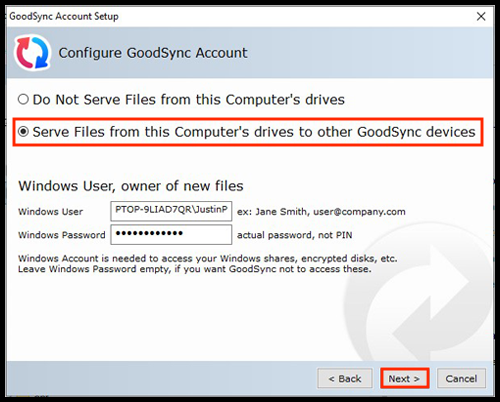
Select "Use my existing account" and click next.

You will then have the option to select "Serve Files from this Computer's drives to other GoodSync devices." Once you have selected this option, click the "Next" button.
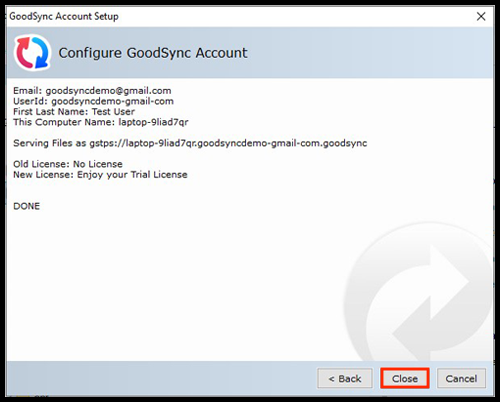
GoodSync will confirm your Account Setup settings. Click "Close" on this window.
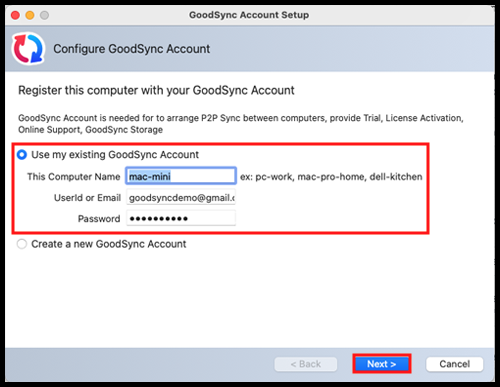
Mac - Click the "GoodSync" menu at the top left of the screen and then click "GoodSync Account Setup."

Select "Use my existing account" and click "Next."
You will then have the option to select "Serve Files from this Computer's drives to other GoodSync devices." Once you have selected this option, click the "Next" button.
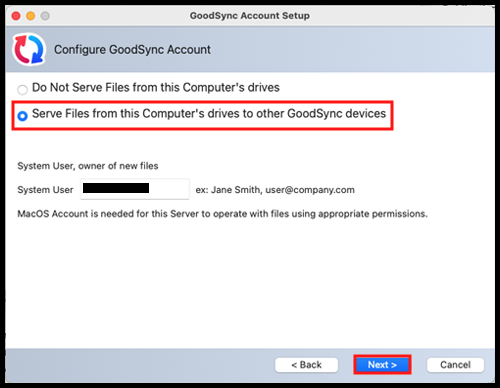
GoodSync will confirm your Account Setup settings. Click "Close" on this window.

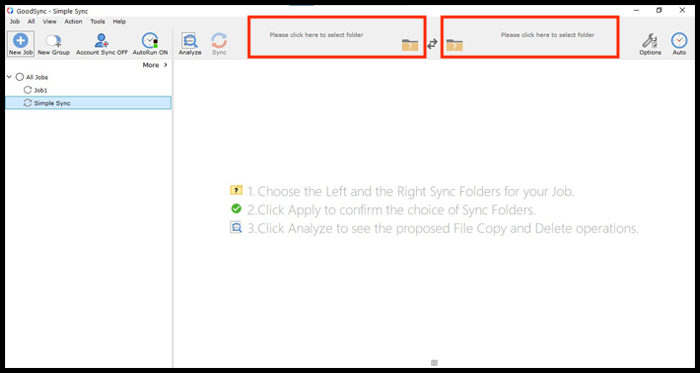
2) Once the machines have been set to listen for connections, navigate to the source server and create the synchronization job. Ensure that "Synchronize" is selected for the job type.

3) Click the Left or Right Browse buttons to view the files and folders available for selection.
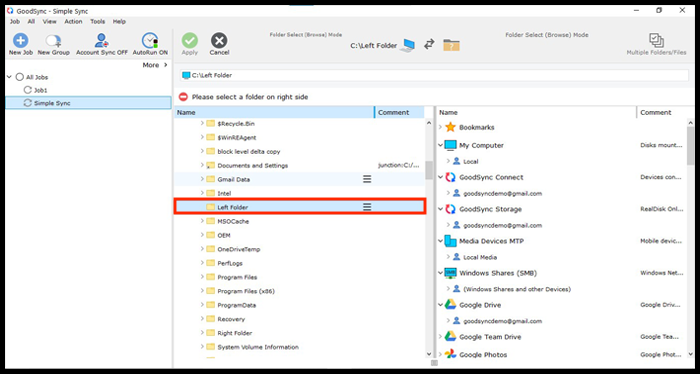
4) For the source folder, choose “My Computer” to select the location containing the data set that should be replicated to the destination machine.
5) When selecting your destination folder, choose “GoodSync Connect” from the available file systems. You should see the target server under your account email. Click it, and select the specific folder you would like to store your backup in. Then, click the green "Apply" button in the upper left.
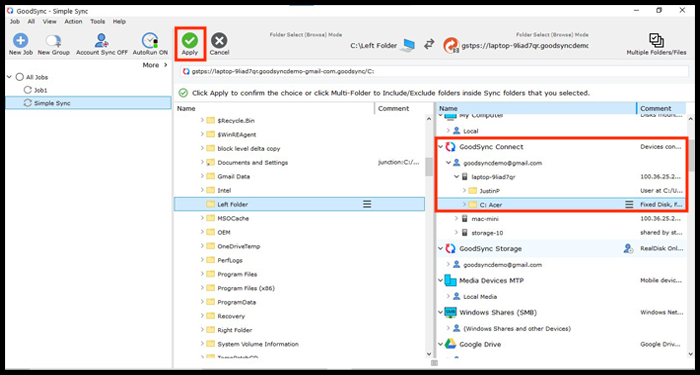
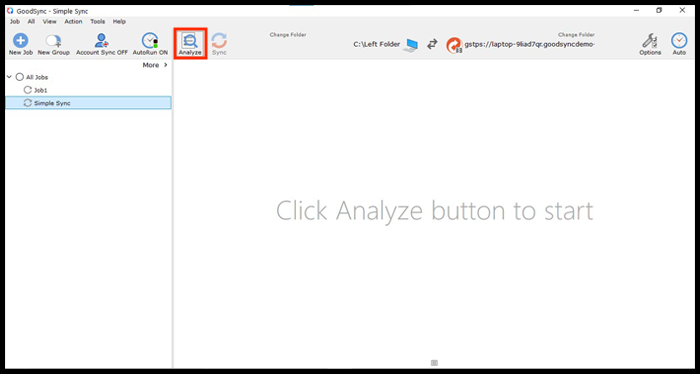
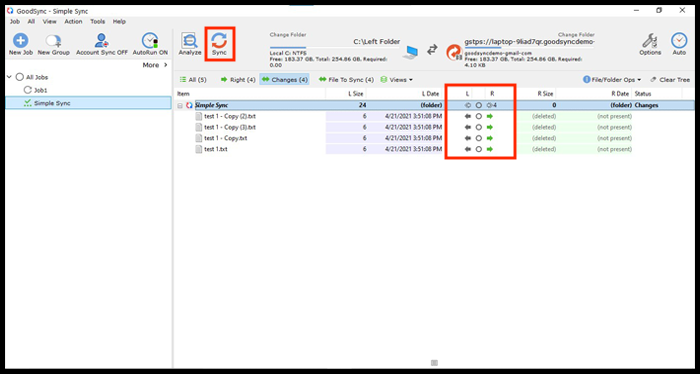
6) Click "Analyze" to confirm what changes will be applied and "Sync" to perform the replication.

NOTE: For information on other Job options, click here.